You have decided to have your roof replaced, accumulated 2-3 bids, and figured out what a roof replacement will cost. You have done the research and you feel good about the roofing company you have hired. Now it’s time to figure out what’s does a roof replacement include?
Knowledge is Power – Francis Bacon
The 10 Step Process to Replacing Your Roof
Step 1
A dumpster will arrive at your home. During the tear-off process, a layer of protection will be laid on all shrubs and mulched areas.
Step 2
Removal of all existing roofing materials including flashing and drip edge.
Step 3
Replacing the sheathing may be required depending on how old the home is.
Step 4
Install Ice & Water shield. We are one of the few roofing companies that require this no matter what roofing material is being installed.
Read: Stuff That Endangers Roofs Series – Ice Dams
Step 5
Install roof underlayment or “felts”. This layer creates an additional barrier between the roof system and the sheathing. In your upper-end roofs, we find some roofing companies that use this type of underlayment or felt as the roof system and treat the tile or slate as a roof “decoration”. Underlayments are treated as a barrier as the roof ages and deteriorate. It extends the life of the roof for a short amount of time. For instance, slate or tile roof underlayments don’t last as long. And, this is where experience matters. You will see rows and rows of underlayment overlapping as they move upward to the top of the roof line.
Read: Roof Patching vs. Roof Replacing
Step 6
Apply drip edge along the edges of the roof. This helps control any water away from the fascia and protects the underlayment edges. Drip edge is hardly noticeable. Most importantly, our goal is for your roof to be structurally sound during those Tennessee rain storms.
Step 7
Apply new valley flashing in areas where two roof planes meet. The flashing is typically nailed to the deck of the roof and sealed with caulking.
Step 8
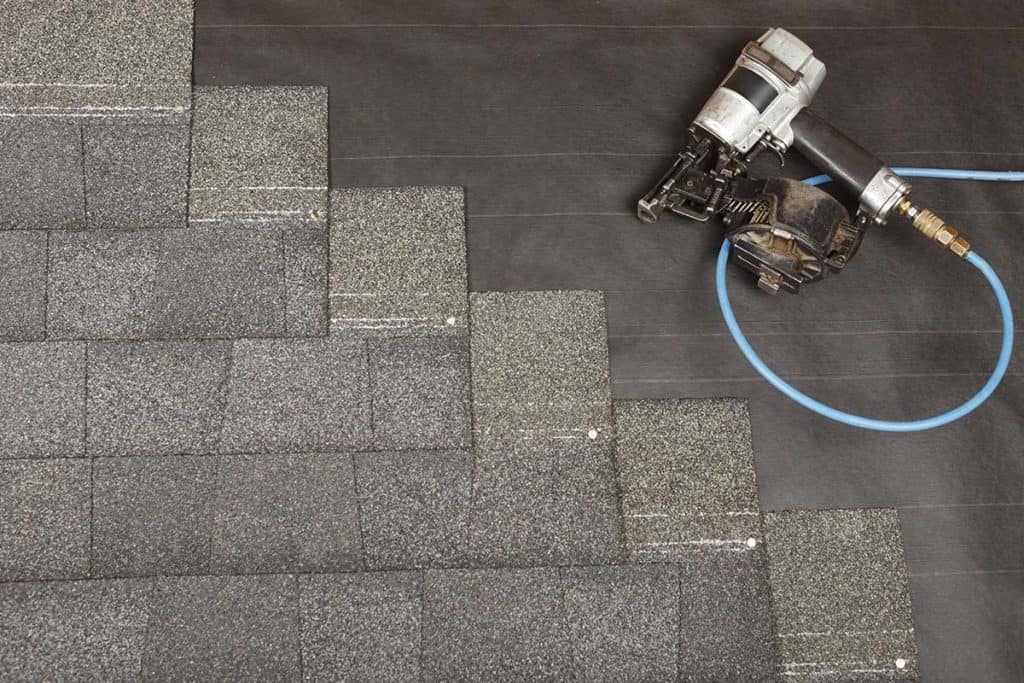
Now begins the fun! You have selected your roofing material, chosen the color, and are now ready to show off to the neighbors. This means each material installation is different. For the sake of boredom, let’s cover the ever-popular asphalt shingle. Our roofers begin at the eaves and work upwards towards the ridges. Replacing each roof vent.
Read: 3 Popular Roofs in Nashville
Step 9
Along the way at each chimney, skylight, roof vents, etc., flashing is installed where roof leaks could come in where those tight little cracks or edges are.
Read: Don’t Have Santa Come Down a Leaky Chimney
Step 10
Install ridge vent. This is a continuous vent along the ridge of the roof. First, It provides air circulation in attic spaces and those humid summer days. And most importantly, it prevents ice dams in the winter.
Read: The Importance of Roof Ventilation
The moment has arrived and the final cleanup is taking place. Next, metal detectors are used for any straggling nails or bits of metal, and the dumpster is picked up and hauled away. You get to sit on your front porch or back deck and enjoy your new roof!
If you have been reading this to the very end and are telling yourself – it’s time to get my roof replaced. Don’t wait any longer and give us a call at (615) 452-0161 or contact us online here. Let us get it done for you!.

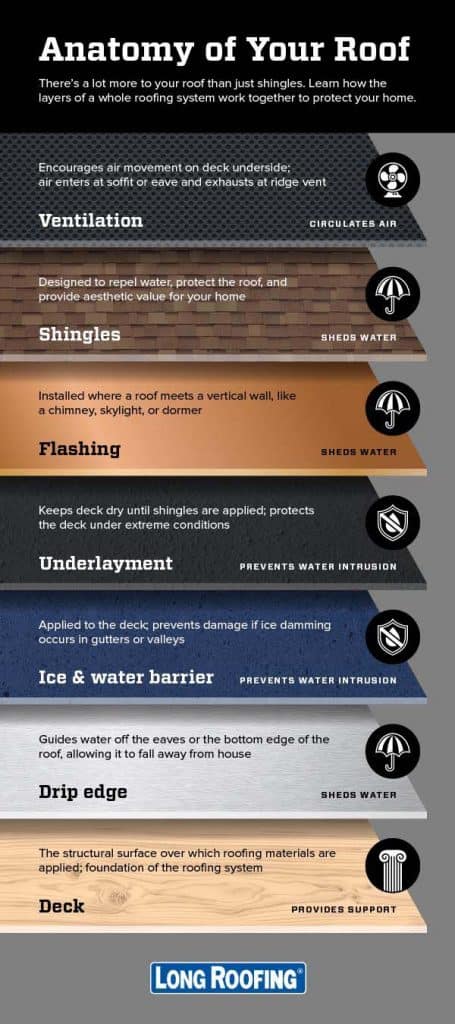
For a more in-depth article about what is included in a roof replacement, Long Roofing based out of the Northeast has a great infographic and more details about the process.


